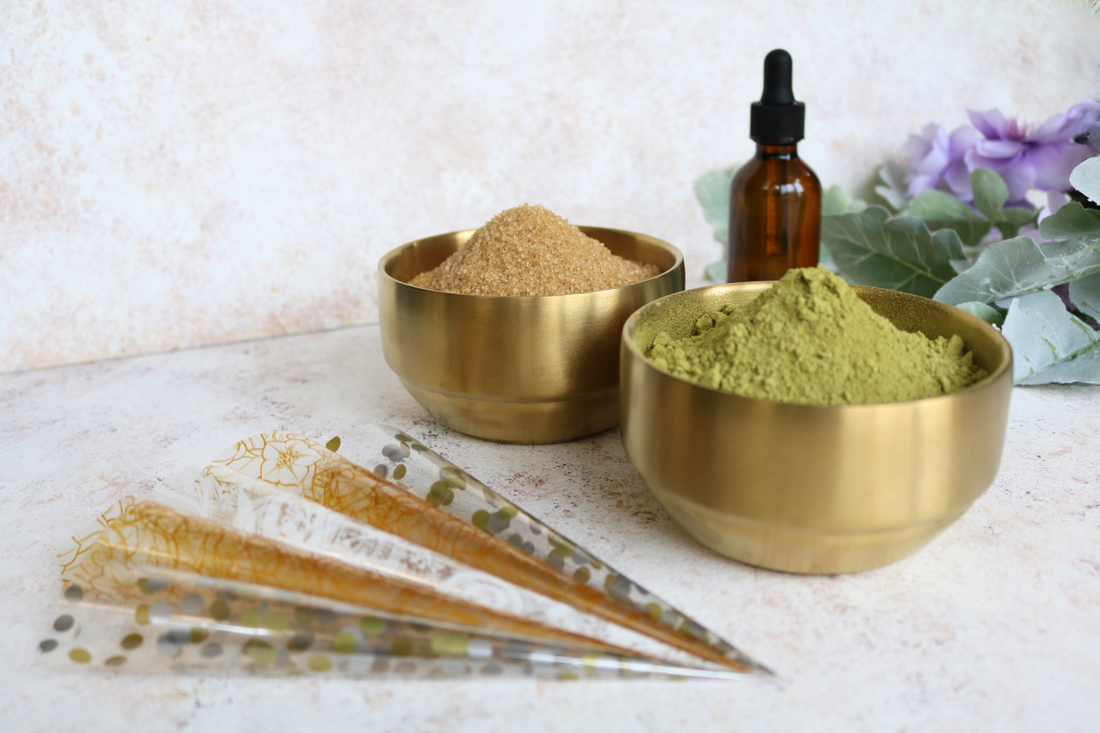
Whether you're a seasoned artist seeking to deepen your craft or a curious newcomer eager to experiment with henna, you've come to the right place! In this article we will share our tried and tested recipe (and tips) for making luxurious henna paste from scratch!
Recipe
Great henna paste starts with high quality ingredients. You will need:
- BAQ henna powder (at least 3 times sifted) - 100 g
- Essential oil* - 30-35 ml
- Sugar - 40 g
- Lemon juice - 100 ml
- Boiled water (cooled)** - 100 ml
*We recommend using high quality essential oils (lavender, cajeput, tea tree, etc.) to ensure a dark stain. Lavender is the most suitable oil for sensitive skin, children, and pregnant women.
**Instead of using water you can use lemon juice only (total liquid in the recipe should be 200 ml).
This recipe makes 15-17 cones (20 g each).
Other Items You Need: A mixing bowl, spatula, flour sifter (optional), plastic wrap, aluminum foil, a big plastic cup/tumbler, a pre-stretched long nylon stocking (without reinforced toe), and a carrot bag.
Directions
1. Use a flour sifter to sift henna powder in a mixing bowl. Next, add sugar and mix.
2. Now add the liquid ingredients: Essential oil, lemon juice, and water. Mix everything together until no dry powder is visible. At this point the paste will be thick.

3. Add a layer of plastic wrap directly on top of the paste to minimize exposure to air. Then, cover the bowl with aluminum foil to make it airtight.

4. Leave the bowl in a cabinet for 20-24 hours for dye release. After dye release, the top layer of the paste turns brown. As you can see in the picture below, the top layer has turned brown due to oxidization but the paste underneath remains green. Now the paste is ready to be mixed!

5. Mix the paste really well until it is free from all lumps. We recommend using a stand mixer but NOT electric handheld mixers (henna paste can curl up handheld mixers, making the mixing process quite difficult). You can also mix by hand using a whisk. Now the paste should have a smooth and stringy consistency.
Check Consistency: This recipe yields the perfect consistency for us, however if you like your paste to be a little more thin, then this is the time to add water/lemon juice to thin it out, half a teaspoon at a time.

6. In a large cup or tumbler, put the carrot bag in, and pull the bag over the edge of the cup (like lining a garbage can). Now put the stocking inside the carrot bag and pull it over the edge of the cup the same way, making sure the toe stays inside the cup and the remaining stocking stays outside the cup.


7. Pour all the henna paste into the stocking.
8. Now its time to strain the paste. Carefully lift the stocking and carrot bag off the edge of the cup and twist them together from the top a couple of times. Hold the twist tightly with one hand. Start pulling the stocking out with the other hand. This will require some muscle power! Keep pulling until the entire stocking comes out.


Life Saving Tip: A lot of people struggle with pulling the stocking out (including me!) so I came up with a strategy that works better. You will need to use your kitchen sink and the edge of your countertop (see picture below). First, cover the countertop with some aluminum foil, otherwise it will get stained with henna. Now place the stocking over the countertop with the hand holding the stocking in the sink and the hand holding the carrot bag below the counter. Hold the carrot bag tightly (as mentioned before, twist the stocking and carrot bag together a couple of times for a better grip) and pull straight down.

Other Straining Method: Instead of the stocking method, you can also use a fine mesh strainer/sifter to strain the paste. Place the paste into the strainer a few spoons at a time and press the paste through with a spatula using sweeping motions. Once all the paste has been strained, transfer the paste into a carrot bag.
9. Twist and close the top of the carrot bag with a rubber band or bag clip. When you are ready, cut the tip of the carrot bag and fill your henna cones.

10. Seal henna cones using Scotch transparent tape and store cones in the freezer. Thaw for 30 minutes before use.
Luxe Organic Henna is committed to bringing you the best organic henna products for hair and body art. Our products are made with organic ingredients and contain no chemicals. We get our supplies only from reputable suppliers who strictly adhere to regulatory standards and have gone through testing and organic certification for their products.
SHOP ARTISAN COLLECTION | HENNA SUPPLIES
SHOP HERBAL HAIR COLOUR COLLECTION
Visit our blog to learn more about natural hair colour and body art!

